So yes, first of all I know it’s been FOREVER since I posted. I’m a bad person, I’ll never let it happen again, please still be my friend, etc.
")
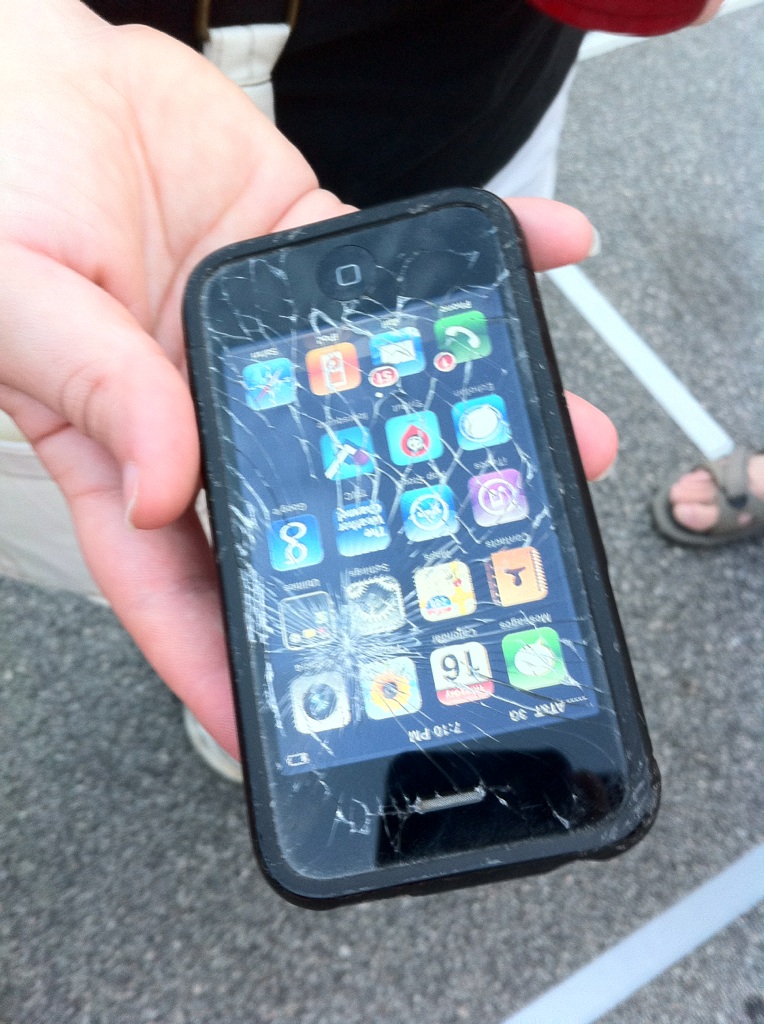
Now to the point. Once upon a time there was a very silly girl who liked beer and football. When you put these together, what do you get? Tailgating! On the fine fall day this story takes place, the girl was tailgating with friends who liked drinking games. Evil games like Flip Cup. And to make a tragic story more palatable the girl got really drunk and, in a momentary lapse of sanity, threw her iPhone 3G. Overhanded. See picture to left (I actually dropped the phone again about 15 seconds after this picture was taken so it got a lot worse but you get the idea.)
Being incredibly cheap I decided I was going to get myself out of this mess and fix the screen on my own. I also heard from several people that I did not deserve to own an iPhone anymore (that’s fair) so I wanted a little redemption. This post covers my experience with fixing the screen and I’m going to give you all the things that helped me out – hopefully this will help get me out of the karmic Apple doghouse.
First, I have a 3G. Do your research and make sure you get the right screen/instructions fr the right model of iPhone. I did a fair amount of research beforehand and I heard a lot of mentions that fixing this on your own still cost $20, $35, $50+. Since the only expense is really the glass and the materials it takes to install I have to assume the glass is very expensive when purchased from some retailers. I found the right glass repair kit on Amazon for $6.29. Check it out and enjoy the helpful and reassuring user reviews as well. 
The other things you’ll need, at least according to the internet, are:
- a small screwdriver,
- double-sided tape,
- suction cup,
- a plastic prying tool and
- some kind of heat source, like a blow dryer.
I did not have all these things. The screwdriver I had was 1/4 inch; I suggest finding a 1/8th inch one if you can. I got some of the screws out with the larger screwdriver but had to borrow a small one to finish the job. I lost the plastic prying tool that came with my kit but was able to use a small flathead screwdriver without issue. I didn’t have a suction cup either but I was able to pry the screen out with the aforementioned flathead screwdriver. Finally, I also brought some packing tape into the mix because my screen was SO cracked – that helped keep the pieces together (to a point) and during the process of pulling the face apart. My glass kit did come with the double-sided tape pre-cut to fit all the nooks and crannies of the iPhone and that was a life saver and totally worth paying for.
I watched a video of the entire process (embedded below) before I started and it was a good one. I actually referred back to it when putting the phone back together (all the other sites just say “do everything you just did in reverse order which is not ideal, imo). The guy in the video did quite a few things wrong when he tried it and those mistakes stick with you so hopefully you won’t repeat them.
 As for the process itself, the two biggest issues by far, at least for me, were the tiny screws which took AGES to get out, and the process of detaching the screen from the adhesive.
The screws just require patience. That’s all I can say except that also they’re smaller than you think and don’t lose them.
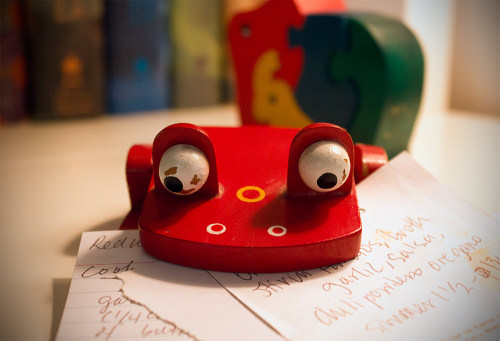
As for detaching the screen from the adhesive I actually think I might have had an easier time than most because my screen was broken into so many tiny pieces. This is where the heat source is supposed to come into play – it helps loosen the adhesive. As you do your research though you’ll hear that too much heat causes the very delicate frame to warp and bend. I used a curling iron blow dryer which I think was less damaging since it’s a more dispersed heat. That being said I did do a little bit of damage why trying to pry off the glass pieces. This frame is really delicate so again, all I can say is have patience. And it can be bent back into shape to some extent so don’t stress too much. The picture to the left is the frame and glass separated but see all the little black pieces? That’s glass. And those are just the pieces you can see.Lots of glass on everything.

Once everything is apart it all has to go back together. The final connections were quite nerve-wracking but when you can turn your phone on and actually have it respond to your touch the payoff is GREAT. Make sure you test this BEFORE you push the screen into place and add the final screws!
So here are my great help resources:
http://blog.makezine.com/archive/2009/04/make_repairs_-_iphone_front_panel_g.html
Good site with some great pictures but a little lacking in some details.
http://pappmaskin.no/2009/09/repair-a-broken-iphone-3g-glass-front-panel/
Again, lots of good pictures and instructions; no instructions for closing up.
Video tutorial of the whole process – runs about 10 minutes. Lots of good examples of what NOT to do. 🙂
And if you’re actually still reading I really hope this is helpful. It’s certainly cheaper than playing Apple Genius’ $bigMoney to fix it for you and if you don’t mind getting your hands dirty it’s very rewarding. As for the rest of my loyal readers, thanks for sticking around and I promise I’ll write again soon. Ish.